
Wet Areas · Villaboard · Renovations
Behind every great bathroom
Everyone notices the tiles. Nobody sees the wall holding them up. This is the story of what goes into a bathroom before it’s beautiful, and why that part decides how long it lasts.
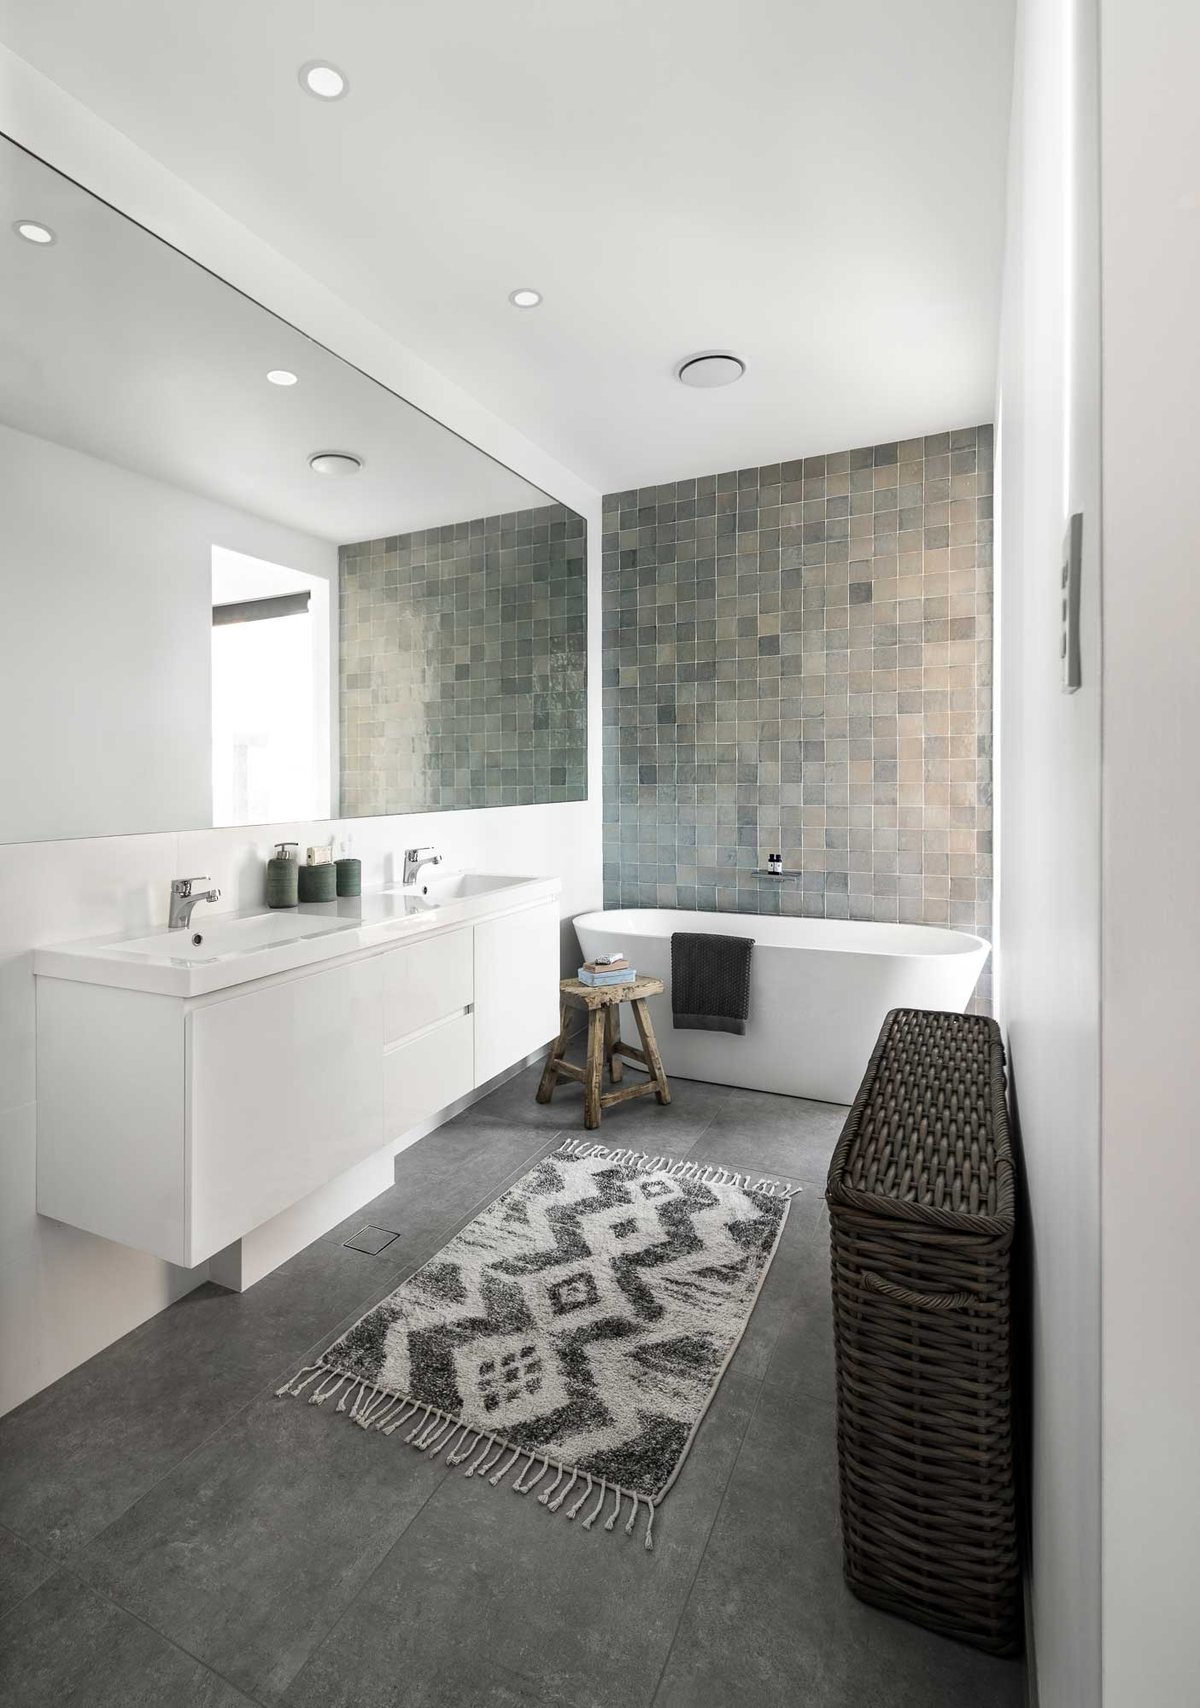
Walk into a finished bathroom and your eye goes straight to the good stuff: the bath, the tile pattern, the light bouncing off a big mirror. Nobody walks in and says, “Wow, look at that substrate.”
But ask anyone who has lived with a bathroom that went wrong. Tiles that drum hollow when you tap them. A ceiling that blisters after a few winters of hot showers. A musty smell that won’t leave. Those problems almost never start with the tiles. They start behind them.
So let’s tell this one from the bones out.
Act one
The bones
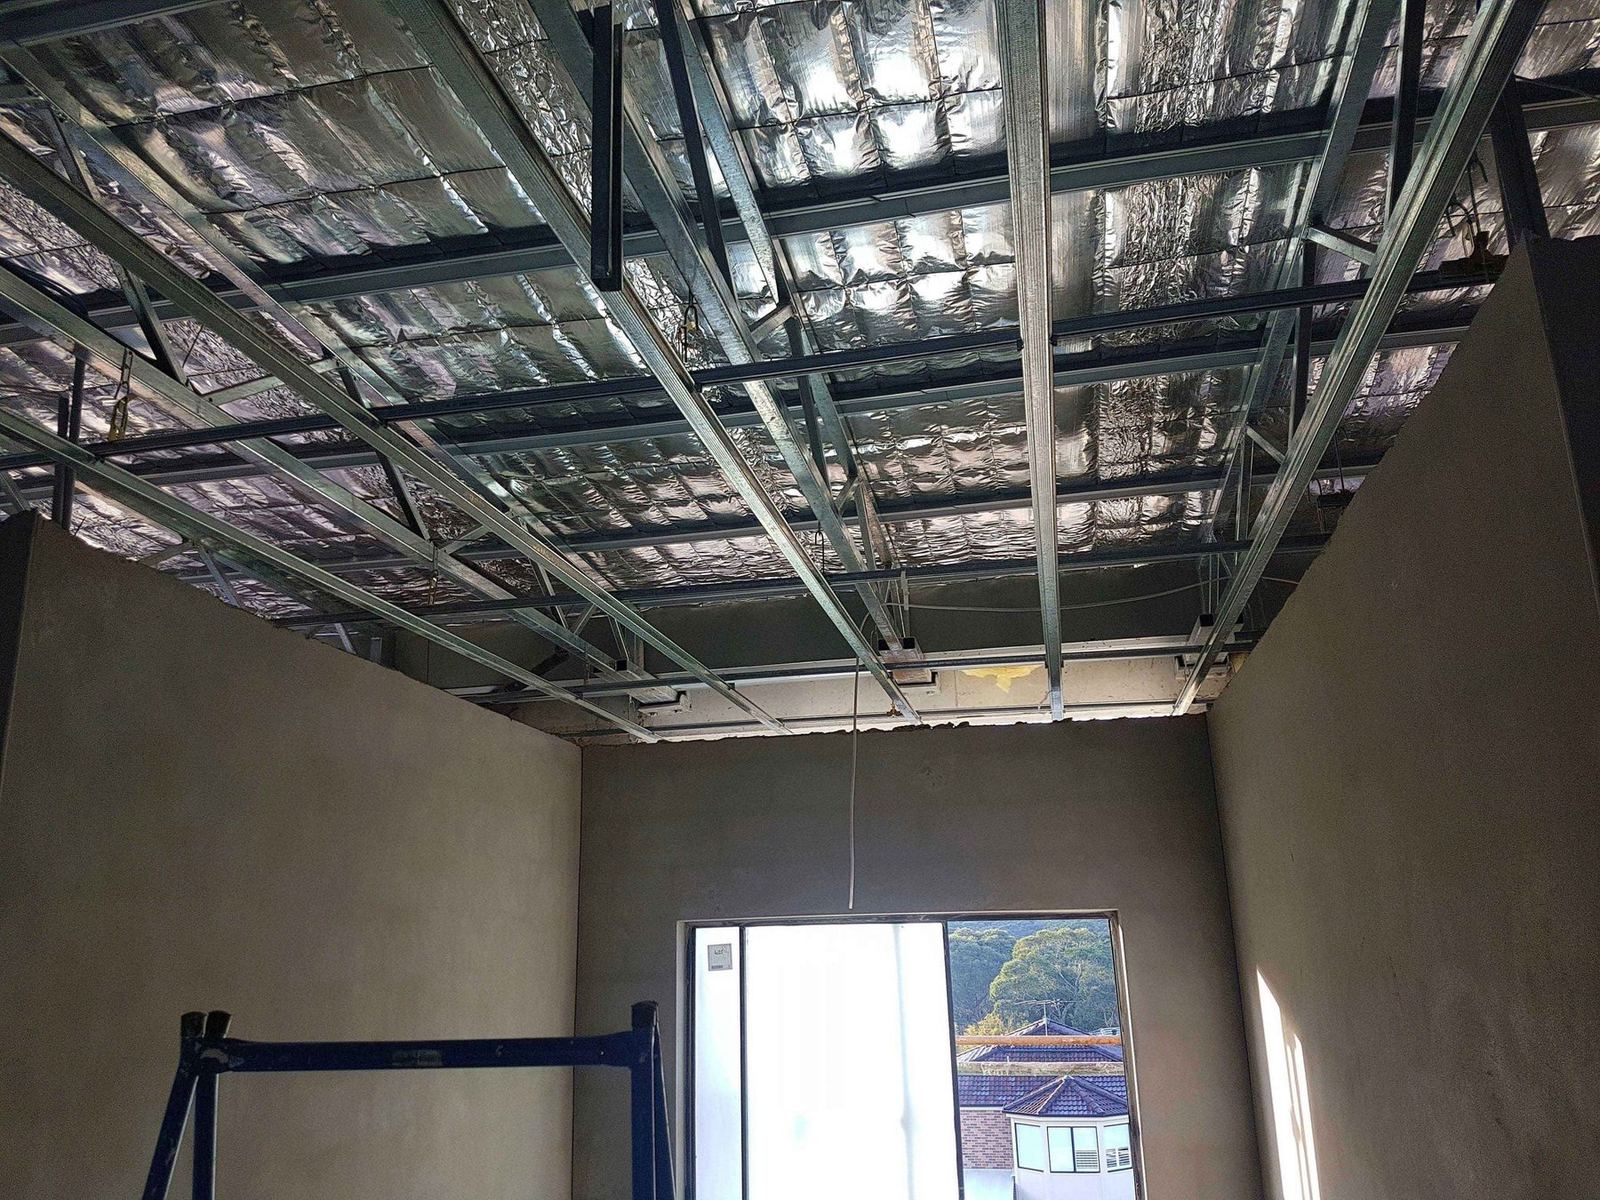
Every room looks like this at some point. Frames, insulation, cables hanging where lights will go. It’s the stage most people never see, and the one where the most important decisions get made.
In a bathroom, this is when you decide what goes on the walls and ceiling. Get it right, and everything after it has a solid, stable base. Get it wrong, and you’re building a beautiful finish on top of a problem.
Act two
The right board in the right place
In the wettest zones of a bathroom, we line with Villaboard: a fibre cement sheet made by James Hardie for wet areas and high-traffic walls. Unlike standard plasterboard, fibre cement doesn’t soften or rot if it gets wet. It holds its shape and its strength.
That strength matters for tiles. James Hardie rates Villaboard’s tile bond strength at up to 75% higher than wet-area plasterboard, which is why it’s the go-to backing for heavy feature tiles and tiling high up the wall.
Elsewhere in the room, like the ceiling, moisture-resistant plasterboard often does the job. The skill is knowing which board belongs where, and setting every joint so it disappears under paint. That’s everyday work for our gyprocking team, who strip old linings and sheet new ones in bathroom renovations across Sydney.
A bathroom, in four layers
Frame
Straight, solid framing with services roughed in.
Line
Villaboard in wet zones, moisture-resistant board above, joints set flat.
Waterproof
Membrane applied to the lining to AS 3740:2021.
Finish
Tiles, then ceiling and walls painted with moisture-resistant coatings.
Act three
The moment nobody photographs
Halfway through, a bathroom looks unfinished and a bit rough. But that’s when it becomes a good one. Put the two moments side by side and you can see where the real work goes.
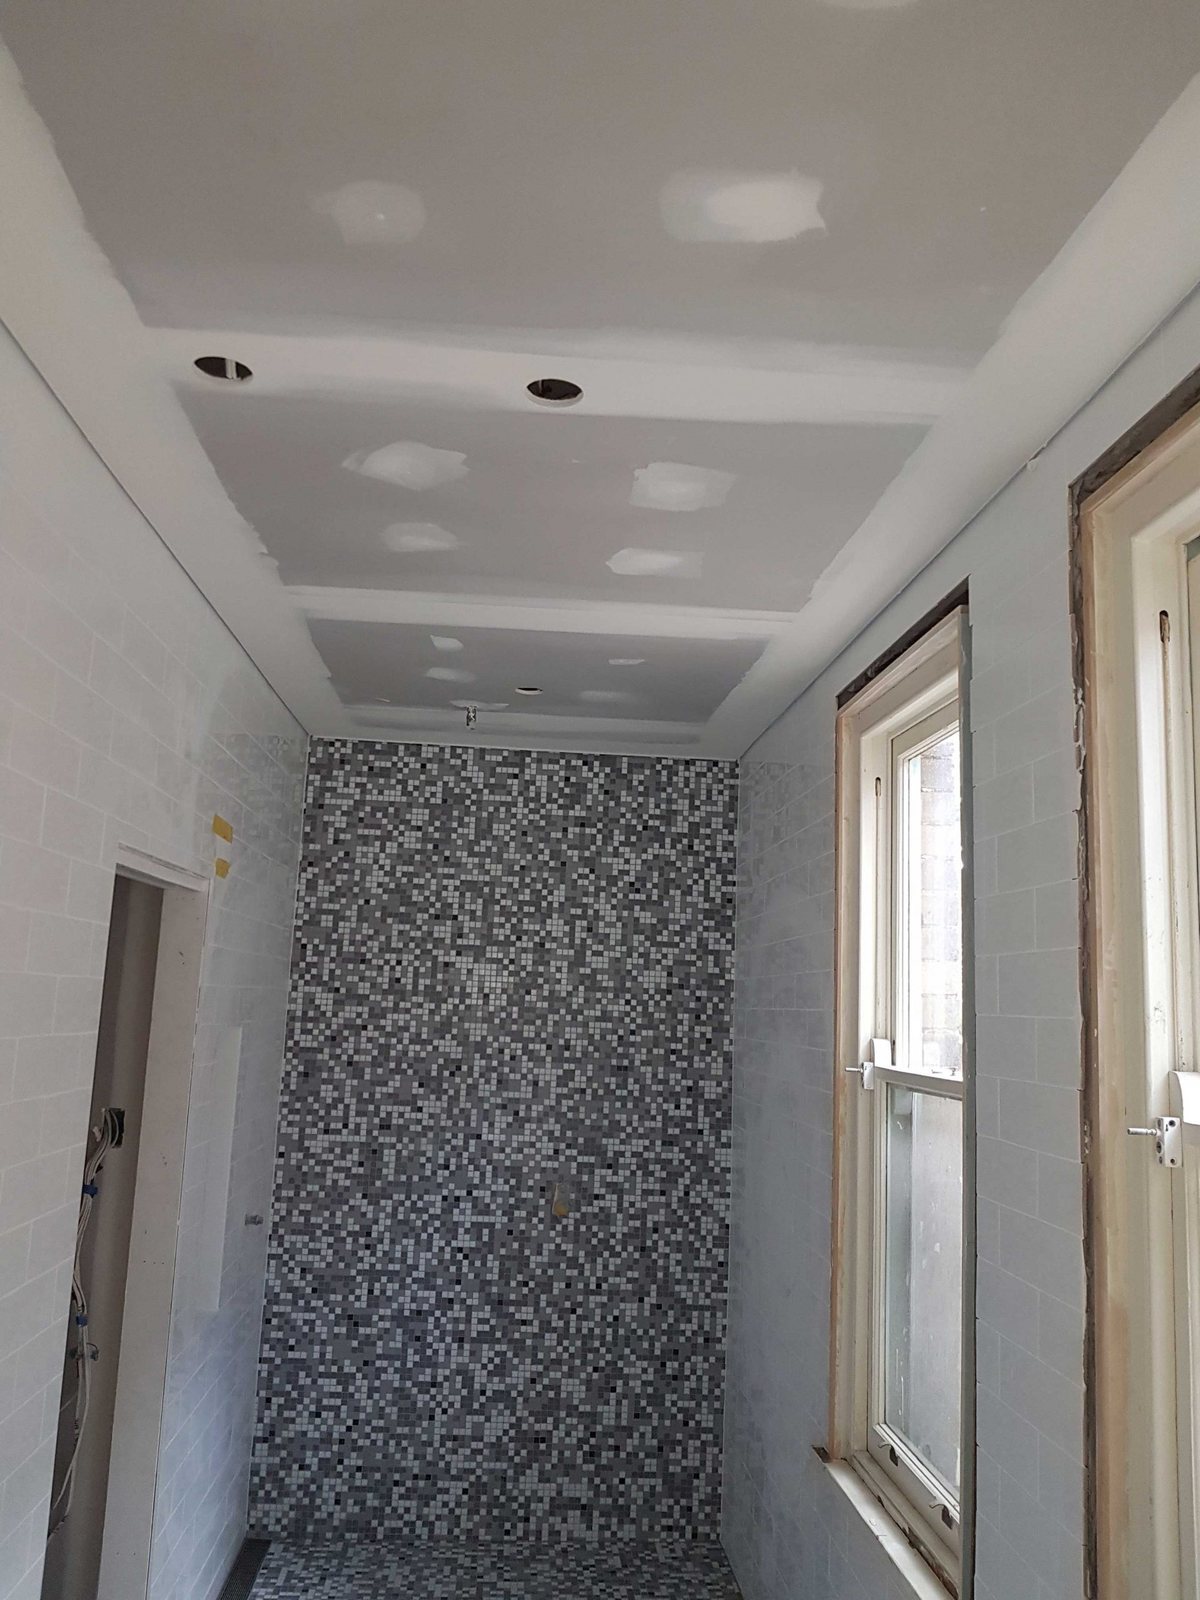 DuringAfter
Four questions to ask before your bathroom reno
You don’t need to become an expert in linings. But asking these questions early will tell you a lot about who you’re hiring.
What’s going behind the tiles? You want a clear answer, not a shrug. Villaboard or an equivalent wet-area lining in the shower and splash zones.
Who’s waterproofing, and to what standard? The answer should name a licensed waterproofer and AS 3740:2021.
How will the ceiling handle steam? Moisture-resistant board, good ventilation and a mould-resistant primer under the paint.
Do the plasterer and painter talk to each other? The cleanest finishes come when one team handles both. That’s why we pair our plastering with painting services that use moisture-resistant coatings made for bathrooms and laundries.
Sydney’s humid summers and coastal air are hard on wet areas. A bathroom that’s built right from the bones out shrugs that off for years. One that isn’t will tell you about it, usually just after the tiler has left.
Want to see more of what happens behind the finish? Browse our project gallery, where we share the in-between shots as well as the glamour ones.
Let’s start with the bones.
Tell us about your bathroom. For bigger jobs we’ll visit, measure up and give you a written quote at no cost and no obligation.